How to Build a Campfire | The Ultimate Guide
Are you ready to master the art of building a perfect campfire? There’s something magical about gathering around a crackling fire under a starry sky. Whether you’re a seasoned camper or a first-timer, knowing how to build a campfire is an essential skill that can enhance your outdoor experience. In this ultimate guide, we’ll walk you through the steps to build a campfire safely and efficiently. So, let’s get started!
Why Learn to Build a Campfire?
Have you ever struggled to get a fire going while camping, only to end up with a smoky mess instead of a roaring blaze? Building a campfire is more than just a survival skill—it’s a way to cook food, stay warm, and create a cozy atmosphere for storytelling and bonding with friends and family. In this guide, we’ll cover everything you need to know about building a campfire, from selecting the right spot to safely extinguishing the flames.
What is the cheapest way to build a fire pit?
The cheapest way to build a fire pit is to use materials you likely already have on hand. First, choose a flat, safe location away from trees and structures. Dig a circular hole about 2 feet in diameter and 1 foot deep. Use the dirt to build a small berm around the hole’s edge. For added stability and safety, line the hole with rocks or bricks you find nearby or repurpose from other projects. Stack them in a circular pattern, ensuring they’re stable. This DIY approach saves money while providing a functional and safe fire pit for your camping needs. Remember to clear any flammable materials around the pit and always have water or a shovel handy for emergencies. This method is cost-effective, easy, and perfect for budget-conscious campers looking to enjoy a cozy campfire.
1. Choosing the Right Location
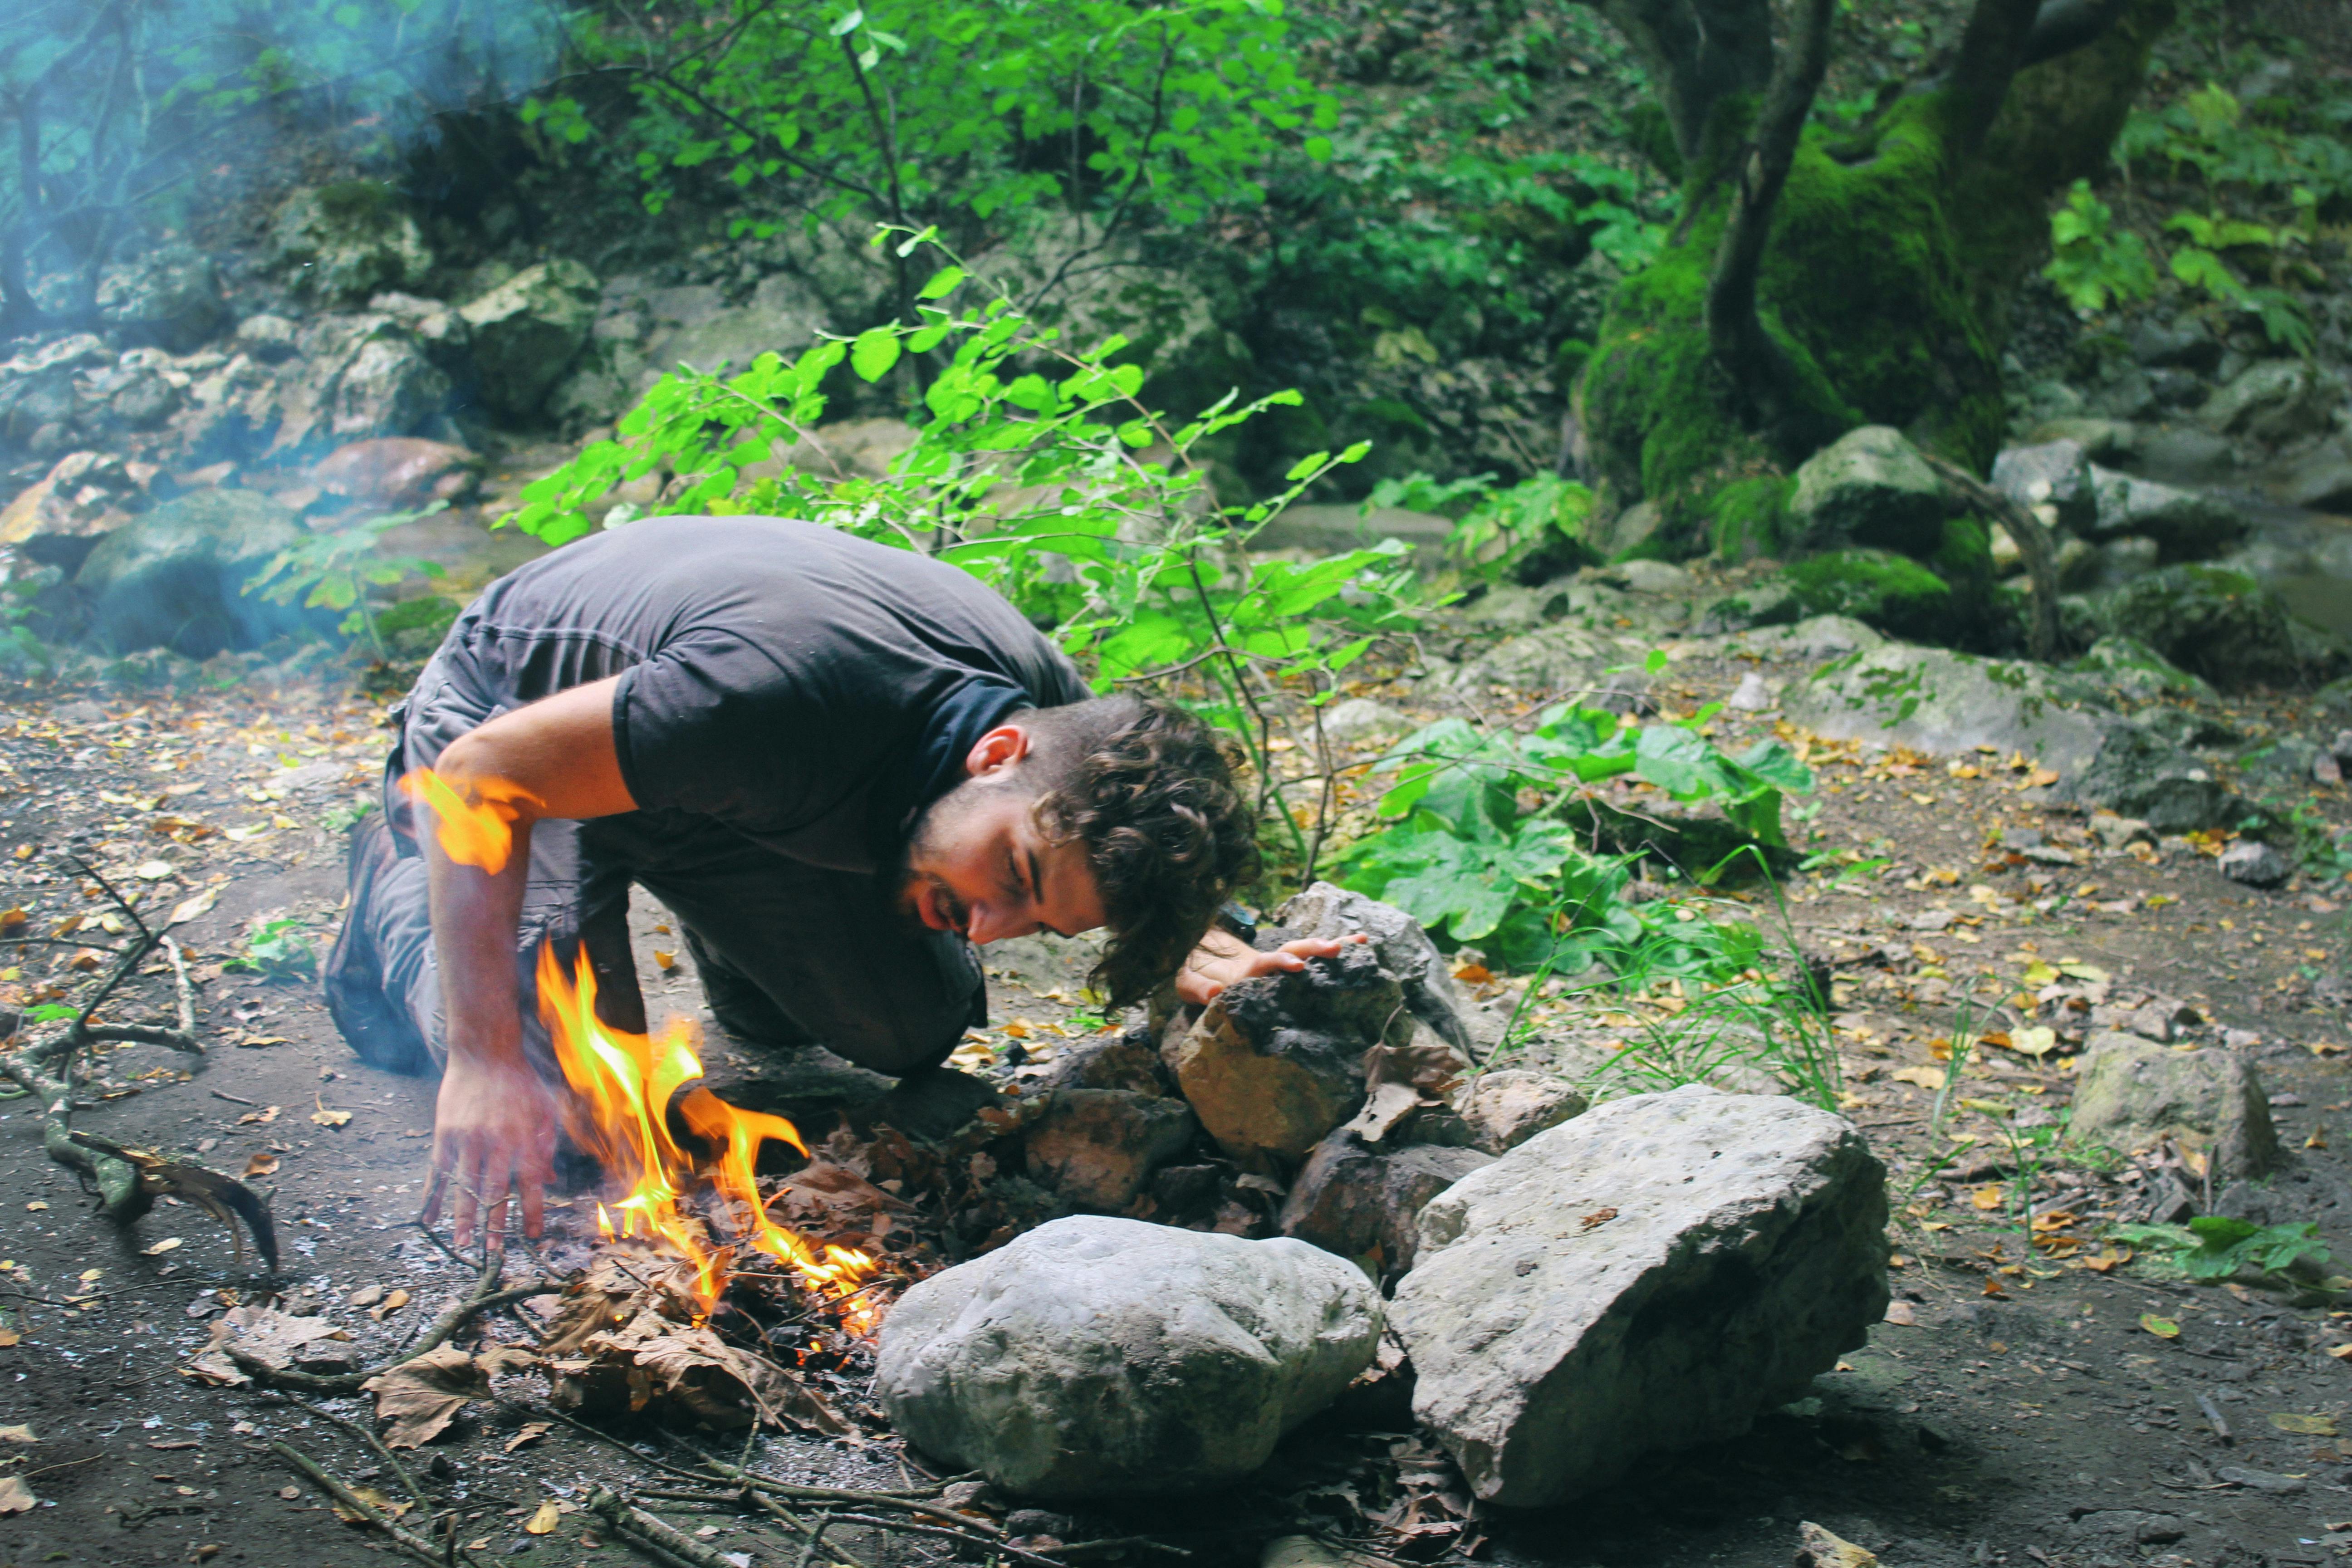
The first step in building a campfire is selecting the right location. Safety should be your top priority, so choose a spot that’s free from overhanging branches, dry grass, and other flammable materials. Many campgrounds have designated fire pits, which are the safest option. If you’re camping in the backcountry, look for a flat, open area at least 15 feet away from tents, trees, and other structures.
2. Gathering Your Materials
Before you can build a campfire, you’ll need to gather the necessary materials. Here’s what you’ll need:
- Tinder: Small, dry materials that catch fire easily, such as dry leaves, grass, pine needles, or birch bark.
- Kindling: Small sticks and twigs that help ignite the larger pieces of wood.
- Firewood: Larger pieces of wood that keep the fire burning. Use a mix of softwood (for quick burning) and hardwood (for longer-lasting heat).
3. Preparing the Fire Pit
If you’re using a designated fire pit, make sure it’s clean and free of debris. If you’re creating your own fire pit, dig a shallow pit about 6 inches deep and surround it with rocks to contain the fire. Clear a 10-foot radius around the pit to prevent the fire from spreading.
4. Building the Fire
There are several methods for building a campfire, but the most popular ones are the teepee, log cabin, and lean-to. We’ll cover each method in detail:
The Teepee Method
- Place the Tinder: Arrange a small pile of tinder in the center of the fire pit.
- Add the Kindling: Place kindling sticks in a teepee shape around the tinder, leaving enough space for air to circulate.
- Light the Tinder: Use a match or lighter to ignite the tinder from multiple points.
- Add Firewood: Once the kindling catches fire, gradually add larger pieces of firewood in a teepee shape.
The Log Cabin Method
- Create a Tinder Pile: Place tinder in the center of the fire pit.
- Build a Square: Arrange four pieces of kindling in a square around the tinder, stacking them log-cabin style.
- Layer the Kindling: Add additional layers of kindling, alternating directions with each layer.
- Light the Tinder: Ignite the tinder from several points.
- Add Firewood: Once the kindling is burning well, add larger pieces of firewood on top of the structure.
The Lean-To Method
- Place the Tinder: Put tinder against a large piece of kindling or a log at a 30-degree angle.
- Lean the Kindling: Lean small sticks of kindling against the large piece, creating a shelter over the tinder.
- Light the Tinder: Ignite the tinder, ensuring it catches the kindling.
- Add Firewood: Once the kindling is burning, gradually add larger pieces of firewood to the lean-to structure.
5. Maintaining the Fire
Once your fire is burning, it’s important to maintain it by adding wood as needed and ensuring it doesn’t spread. Keep a bucket of water, a shovel, and a fire extinguisher nearby for emergencies. Avoid using accelerants like lighter fluid, which can be dangerous.
6. Cooking Over the Fire
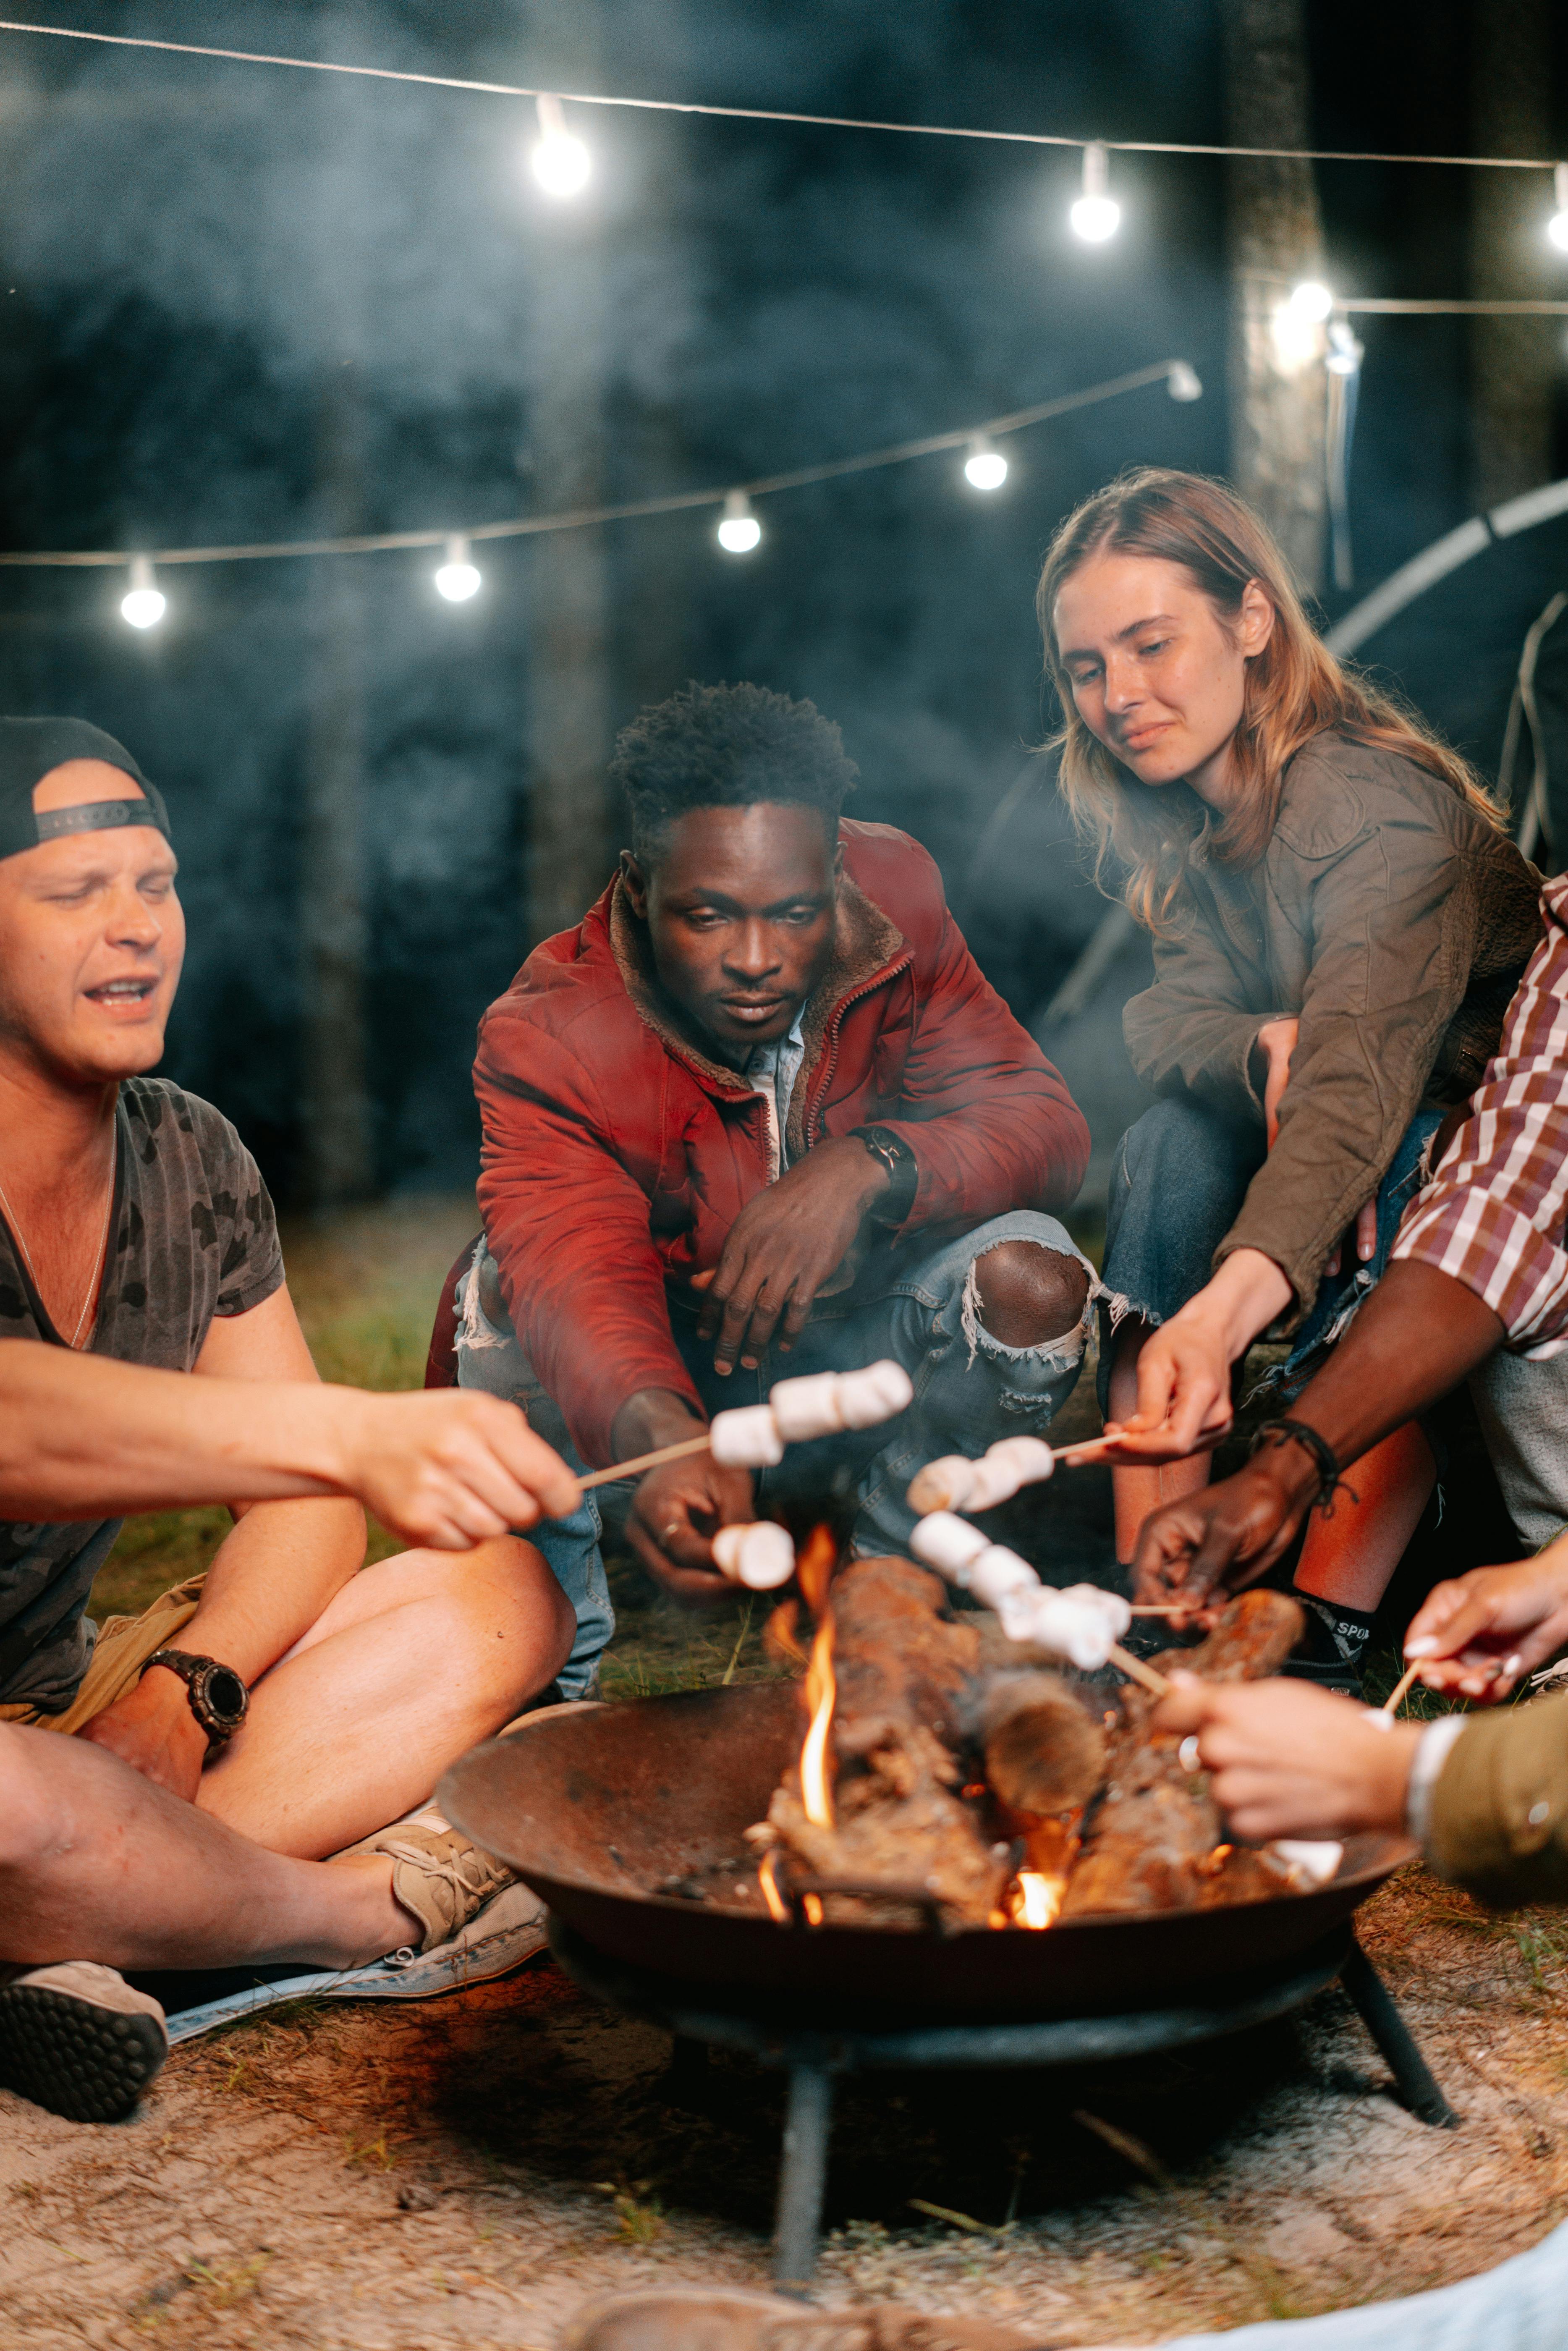
Cooking over a campfire can be a fun and rewarding experience. Here are a few tips for cooking safely and efficiently:
- Use a Grill or Skewer: Place a grill grate over the fire or use skewers to cook food directly over the flames.
- Cook with Coals: For more even cooking, let the fire burn down to hot coals before placing your food on the grill.
- Use Cast Iron Cookware: Cast iron pans and Dutch ovens are ideal for campfire cooking, as they distribute heat evenly.
7. Safety Tips
Safety should always be a priority when building and maintaining a campfire. Here are some essential safety tips:
- Never Leave the Fire Unattended: Always have someone keep an eye on the fire.
- Keep Water Nearby: Have a bucket of water or a hose ready to extinguish the fire if needed.
- Watch for Wind: Be mindful of wind conditions, which can spread embers and flames.
- Keep Flammable Materials Away: Store firewood, tents, and other flammable items at a safe distance.
8. Extinguishing the Fire
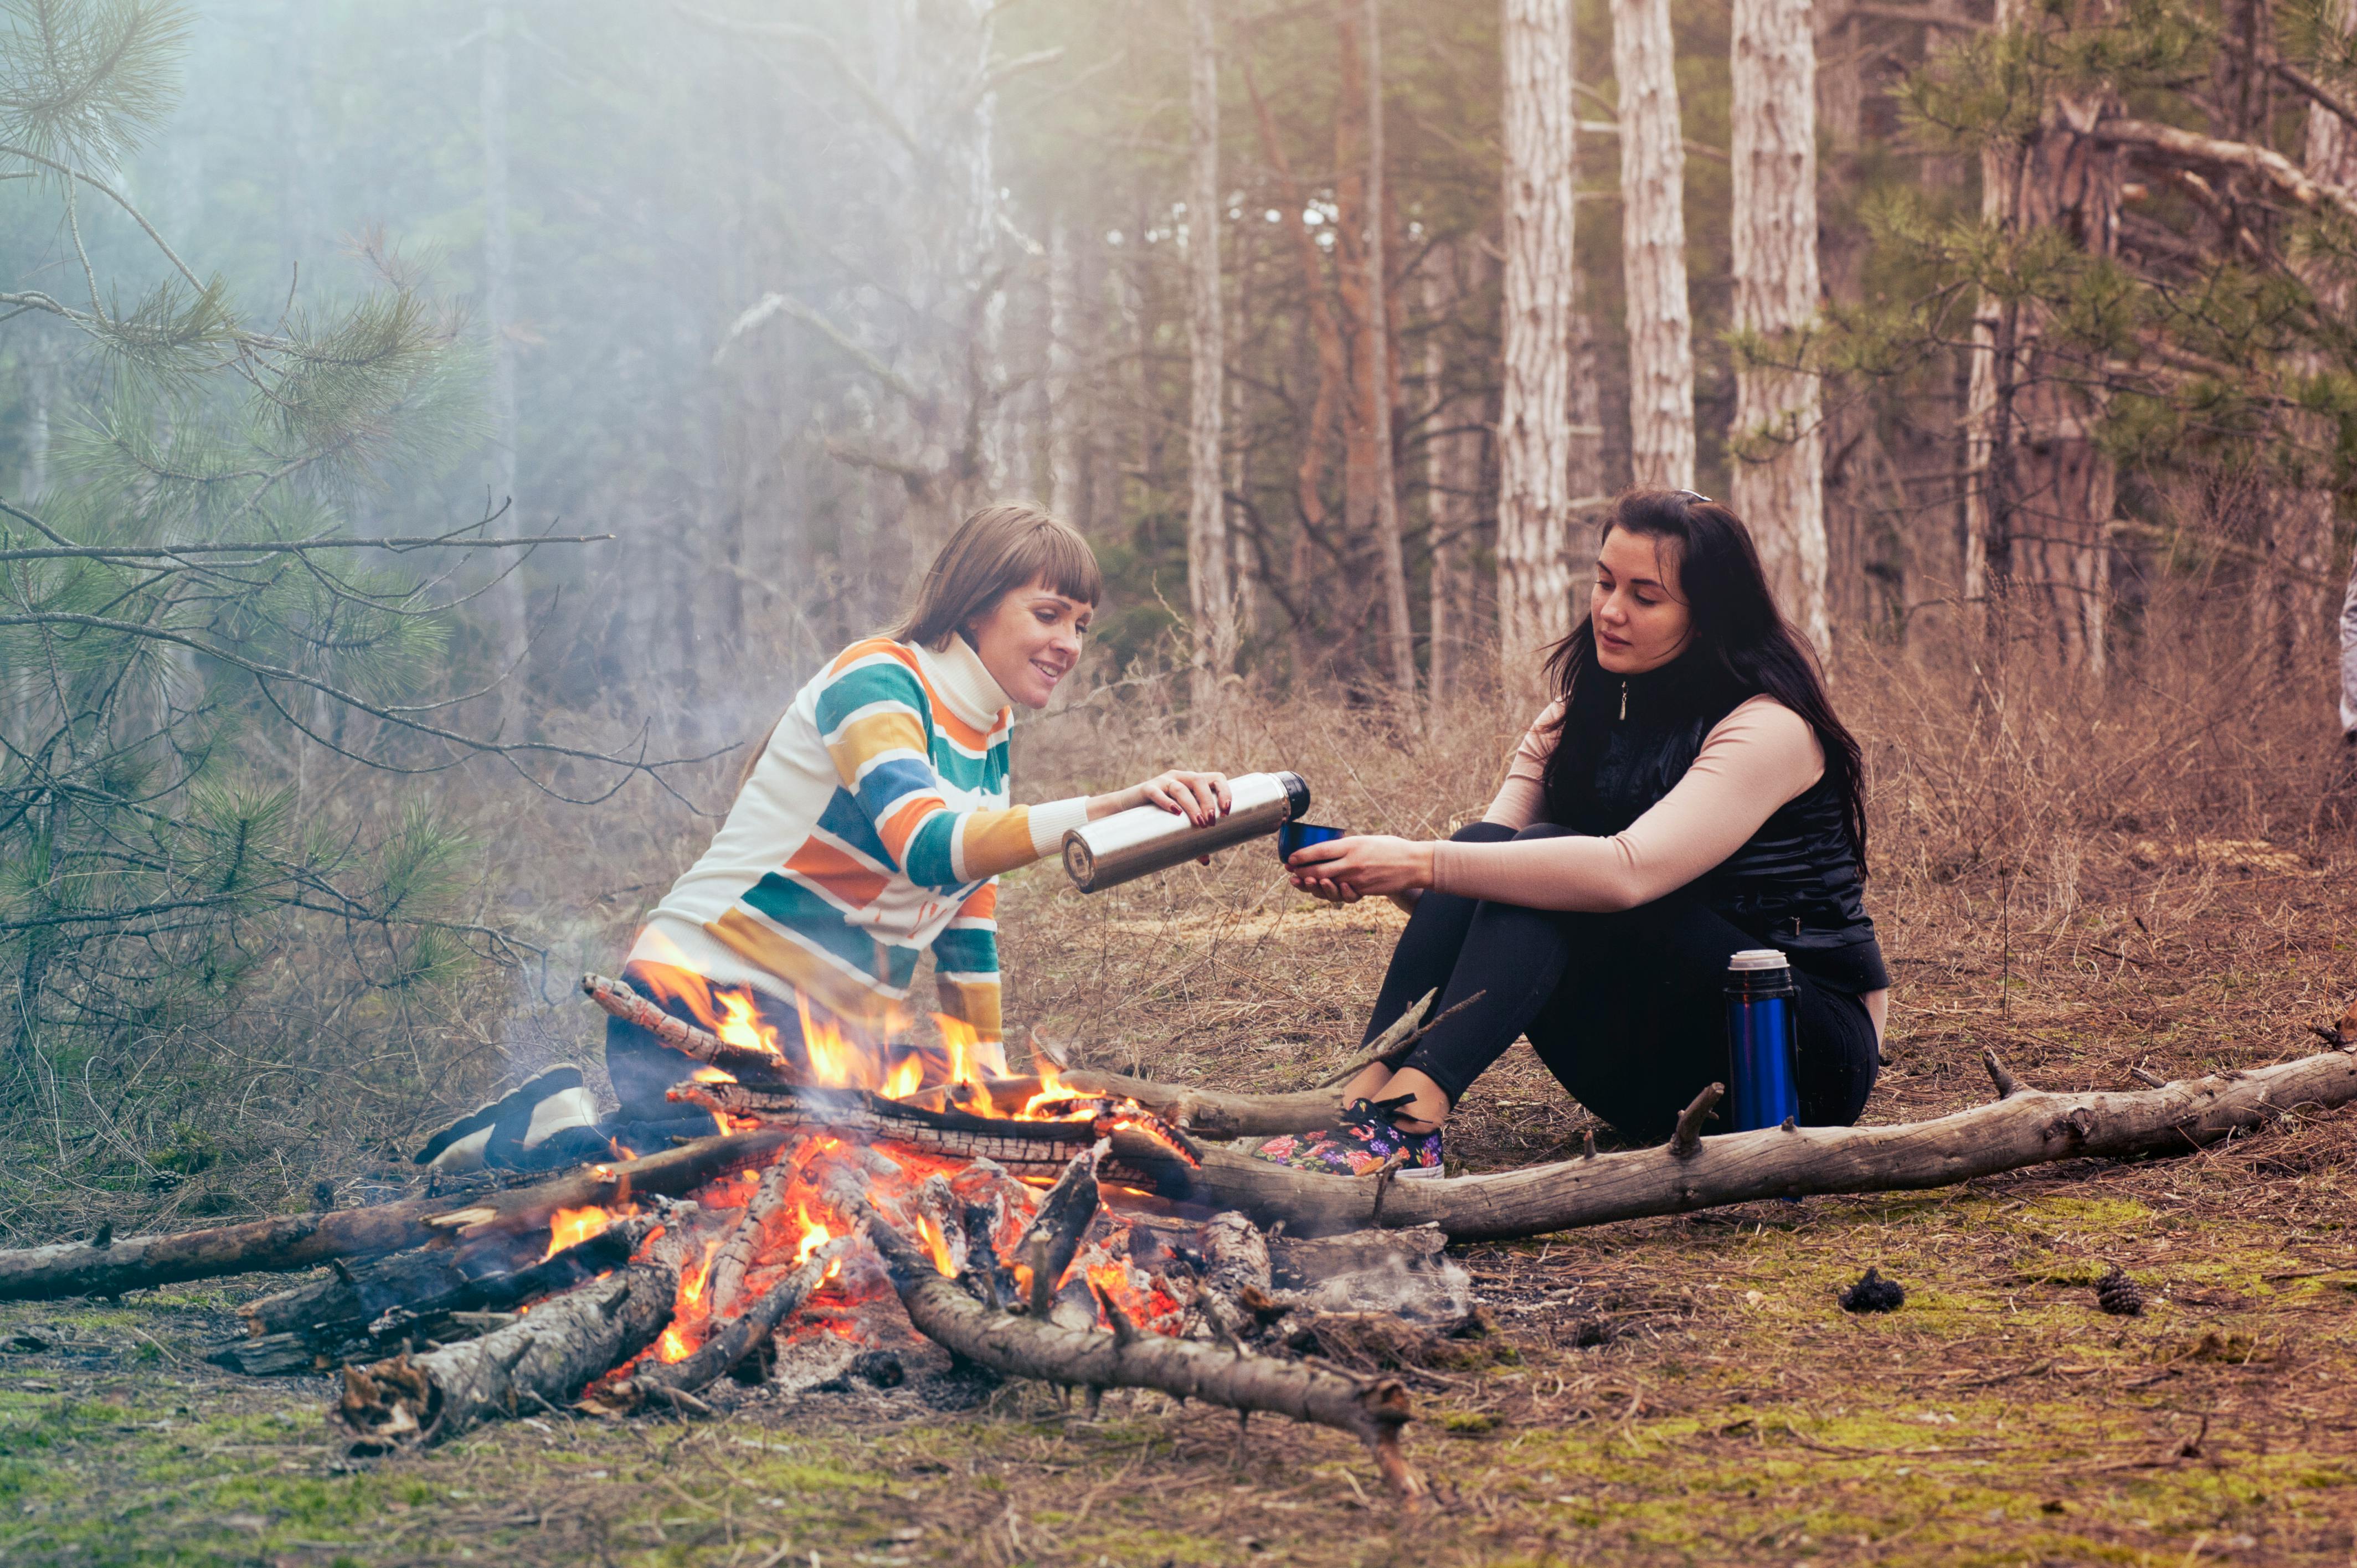
When you’re ready to put out the fire, follow these steps to ensure it’s completely extinguished:
- Douse with Water: Pour water over the fire, making sure to cover all embers and ashes.
- Stir the Ashes: Use a shovel or stick to stir the ashes and embers, ensuring all hot spots are extinguished.
- Repeat: Continue adding water and stirring until the fire is completely out and the ashes are cool to the touch.
9. Leave No Trace
After extinguishing the fire, follow Leave No Trace principles by cleaning up the fire pit and surrounding area. Scatter cool ashes and return any moved rocks to their original positions. Pack out all trash and leave the campsite as you found it.
10. Troubleshooting Common Issues
Building a campfire can sometimes be challenging, especially in adverse conditions. Here are some common issues and how to address them:
- Wet Wood: Use dry tinder and kindling to get the fire started, and gradually add larger pieces of wood. You can also look for standing deadwood, which is often drier than wood on the ground.
- Windy Conditions: Build a windbreak using rocks or logs to shield the fire from strong winds.
- Smoky Fire: This is often caused by burning green or damp wood. Use dry, seasoned wood to reduce smoke.
Enjoying the Perfect Campfire
Building a campfire is a valuable skill that enhances any camping experience. By following these steps and tips, you can build a safe, efficient, and enjoyable campfire for cooking, warmth, and creating lasting memories. Remember to always prioritize safety and respect for the environment. Happy camping!
Additional Tips and Tricks
- Fire Starters: Consider using fire starters, such as commercial fire sticks or homemade options like cotton balls soaked in petroleum jelly, to make starting your fire easier.
- Fire Reflector: Create a fire reflector using logs or rocks behind the fire to direct heat toward your seating area.
- Storage: Store your firewood in a dry, covered area to ensure it’s ready to use when you need it.
Types of Campfires
There are several methods for building a campfire, each suited to different purposes. Here are seven popular types of campfires:
1. The Teepee Fire
- Place the Tinder: Arrange a small pile of tinder in the center of the fire pit.
- Add the Kindling: Place kindling sticks in a teepee shape around the tinder, leaving enough space for air to circulate.
- Light the Tinder: Use a match or lighter to ignite the tinder from multiple points.
- Add Firewood: Once the kindling catches fire, gradually add larger pieces of firewood in a teepee shape.
The teepee fire is great for producing a quick, hot flame, making it ideal for cooking and warmth.
2. The Log Cabin Fire
- Create a Tinder Pile: Place tinder in the center of the fire pit.
- Build a Square: Arrange four pieces of kindling in a square around the tinder, stacking them log-cabin style.
- Layer the Kindling: Add additional layers of kindling, alternating directions with each layer.
- Light the Tinder: Ignite the tinder from several points.
- Add Firewood: Once the kindling is burning well, add larger pieces of firewood on top of the structure.
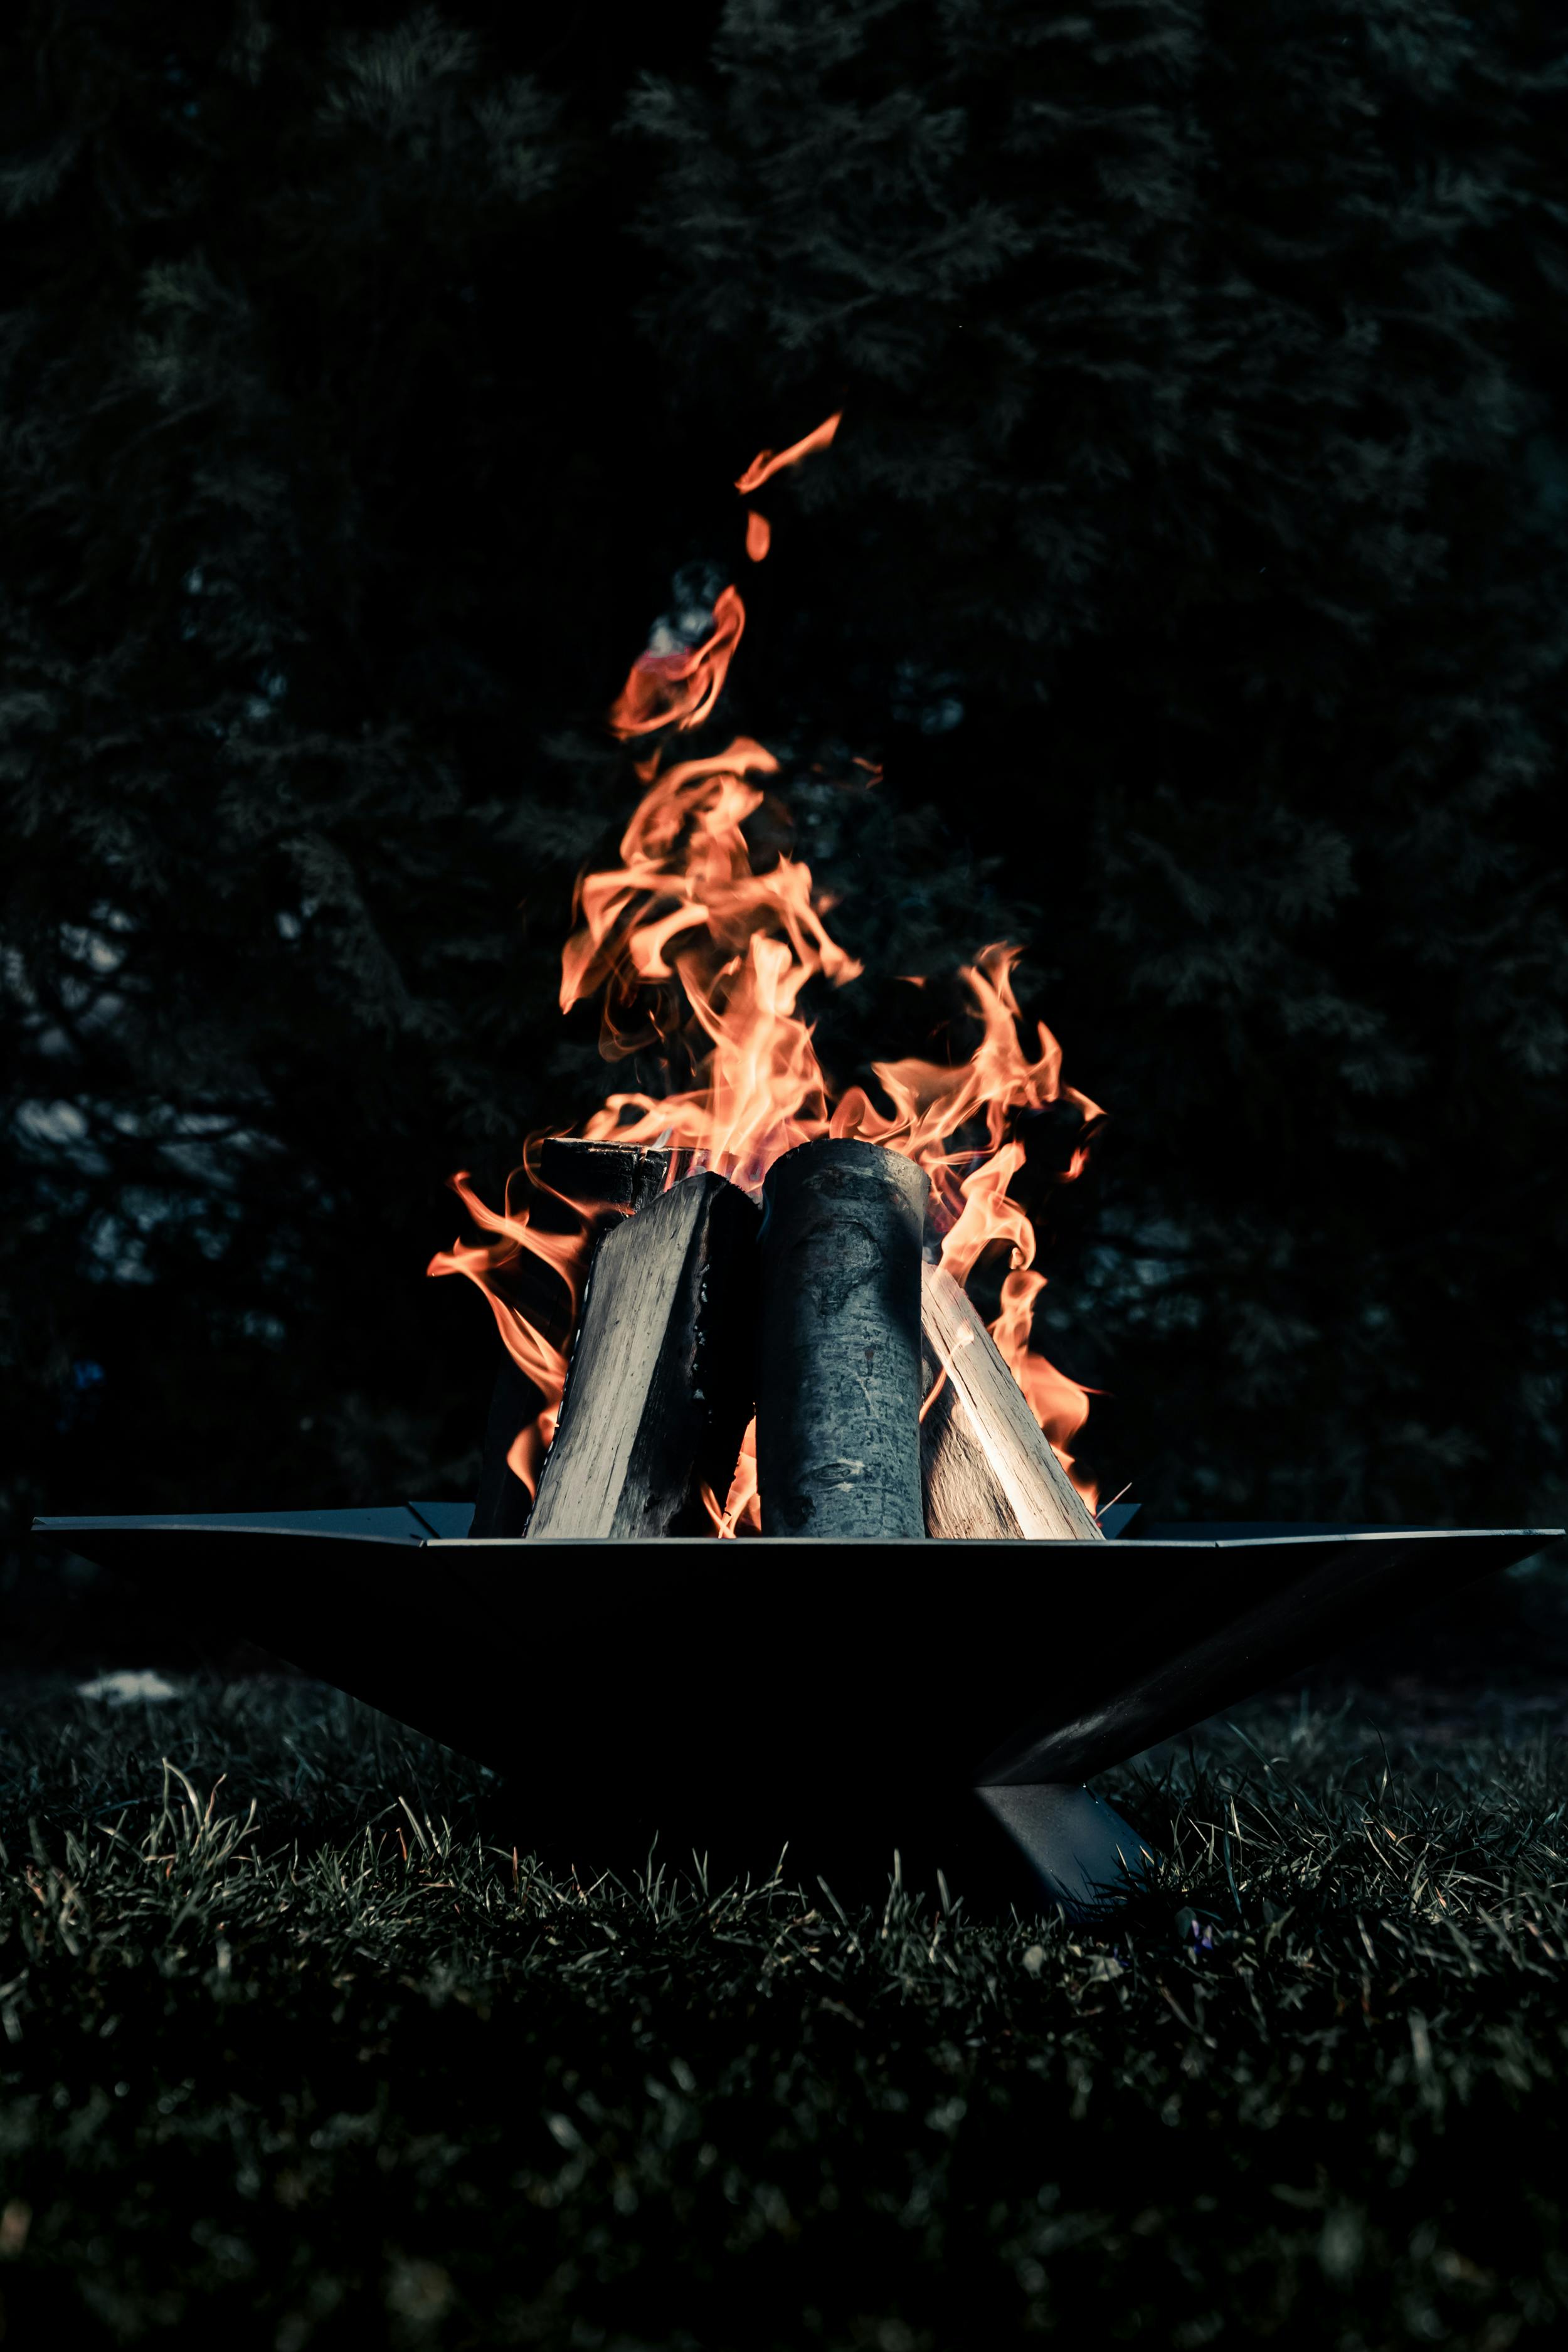
The log cabin fire provides a stable, long-lasting flame that’s perfect for campfire cooking.
3. The Lean-To Fire
- Place the Tinder: Put tinder against a large piece of kindling or a log at a 30-degree angle.
- Lean the Kindling: Lean small sticks of kindling against the large piece, creating a shelter over the tinder.
- Light the Tinder: Ignite the tinder, ensuring it catches the kindling.
- Add Firewood: Once the kindling is burning, gradually add larger pieces of firewood to the lean-to structure.
The lean-to fire is ideal for windy conditions, as it provides a windbreak for the tinder.
4. The Star Fire
- Arrange the Tinder: Place tinder in the center of the fire pit.
- Position the Firewood: Arrange large logs in a star pattern around the tinder, with the ends meeting at the center.
- Light the Tinder: Ignite the tinder from the center.
- Adjust the Logs: As the fire burns, push the logs inward to maintain the flame.
The star fire is efficient for fuel conservation, as it allows for gradual feeding of the fire.

5. The Dakota Fire Hole
- Dig the Fire Hole: Dig a main hole about 12 inches deep and 8 inches wide. Dig a secondary hole upwind of the main hole, connecting them with a tunnel.
- Place the Tinder: Put tinder at the bottom of the main hole.
- Add the Kindling: Arrange kindling over the tinder in the main hole.
- Light the Tinder: Ignite the tinder, allowing air to flow through the tunnel from the secondary hole.
The Dakota fire hole is excellent for stealth and efficiency, as it produces less smoke and concentrates heat.
6. The Platform Fire
- Create a Base: Lay a platform of large logs on the ground.
- Add the Tinder: Place tinder on top of the platform.
- Layer the Kindling: Arrange kindling over the tinder in a crisscross pattern.
- Light the Tinder: Ignite the tinder from below.
The platform fire is useful in snowy or wet conditions, as it elevates the fire above the damp ground.
7. The Upside-Down Fire
- Layer the Firewood: Place large logs at the bottom of the fire pit.
- Add the Kindling: Arrange kindling on top of the firewood in a crisscross pattern.
- Place the Tinder: Put tinder on top of the kindling.
- Light the Tinder: Ignite the tinder from the top.
The upside-down fire burns from the top down, providing a long-lasting, steady flame.
By mastering the art of building a campfire, you’ll enhance your camping adventures and enjoy the many benefits of a well-made fire. Whether you’re cooking a delicious meal, staying warm on a chilly night, or simply enjoying the ambiance, a campfire is an essential part of the camping experience. Follow this ultimate guide to build a perfect campfire every time and make your outdoor adventures even more memorable.